Experience the harmonious blend of savory miso and tender salmon in this delightful Japanese-inspired dish. Perfectly caramelized under the broiler, this Miso Salmon offers a gourmet experience that’s surprisingly easy to recreate at home. Whether you’re planning a special dinner or seeking a healthy weeknight meal, this recipe is sure to impress.

Ingredients and Preparation Steps
What You’ll Need:
Ingredients
- 2 salmon fillets (approximately 1.5 lbs), skin removed
- 1 cup miso paste
- 1/2 cup brown sugar
- 1/2 cup soy-ginger salad dressing
- 1/4 cup sake
- 1/4 cup water
- 3 tablespoons seasoned rice vinegar
- 2 tablespoons sesame seeds
- 1 teaspoon sesame oil
Step 1: Prepare the Miso Glaze
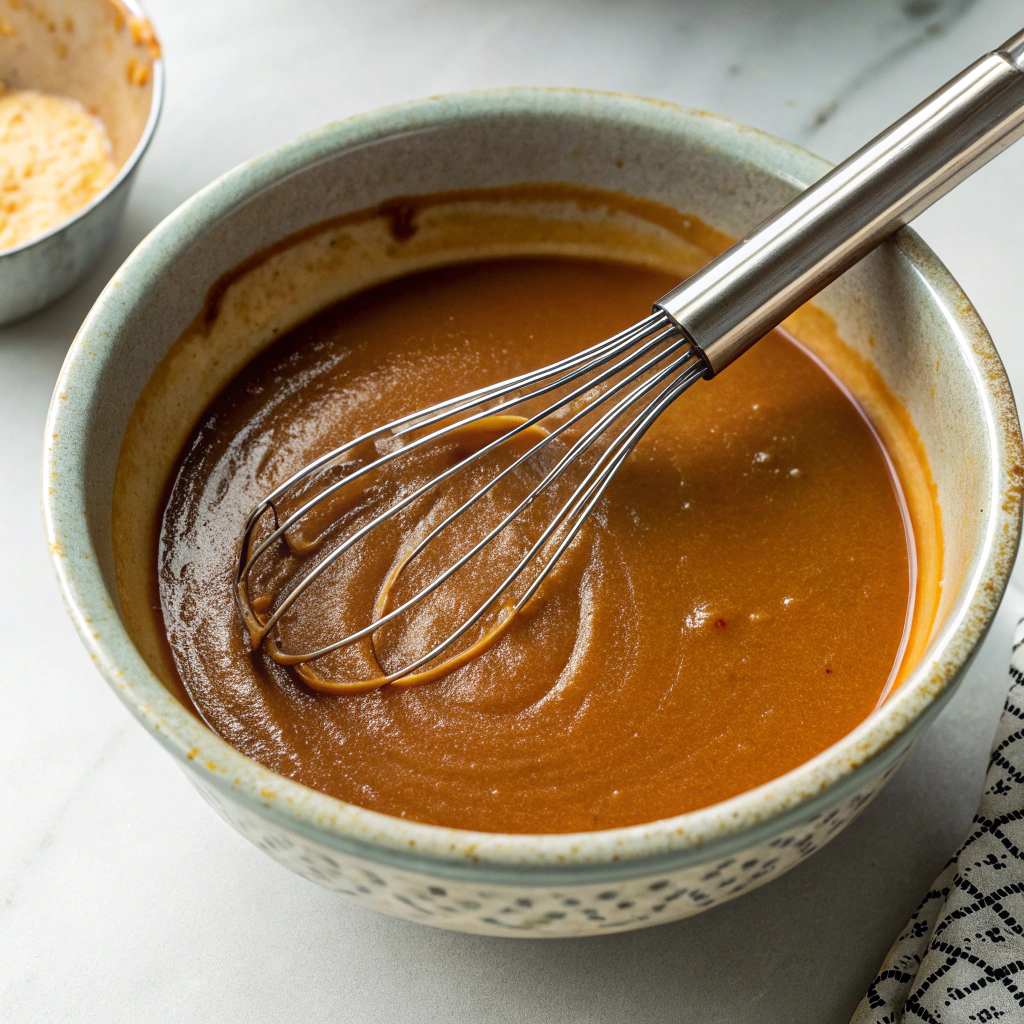
In a medium bowl, combine the miso paste, brown sugar, soy-ginger salad dressing, sake, water, seasoned rice vinegar, sesame seeds, and sesame oil. Whisk until the mixture is smooth and well-blended.
Step 2: Poach the Salmon

Bring about 1 inch of water to a boil in a large skillet. Carefully place the salmon fillets into the boiling water and poach for 2 minutes on each side. Once done, transfer the salmon to a broiler pan, arranging them evenly.
Step 3: Apply the Miso Glaze
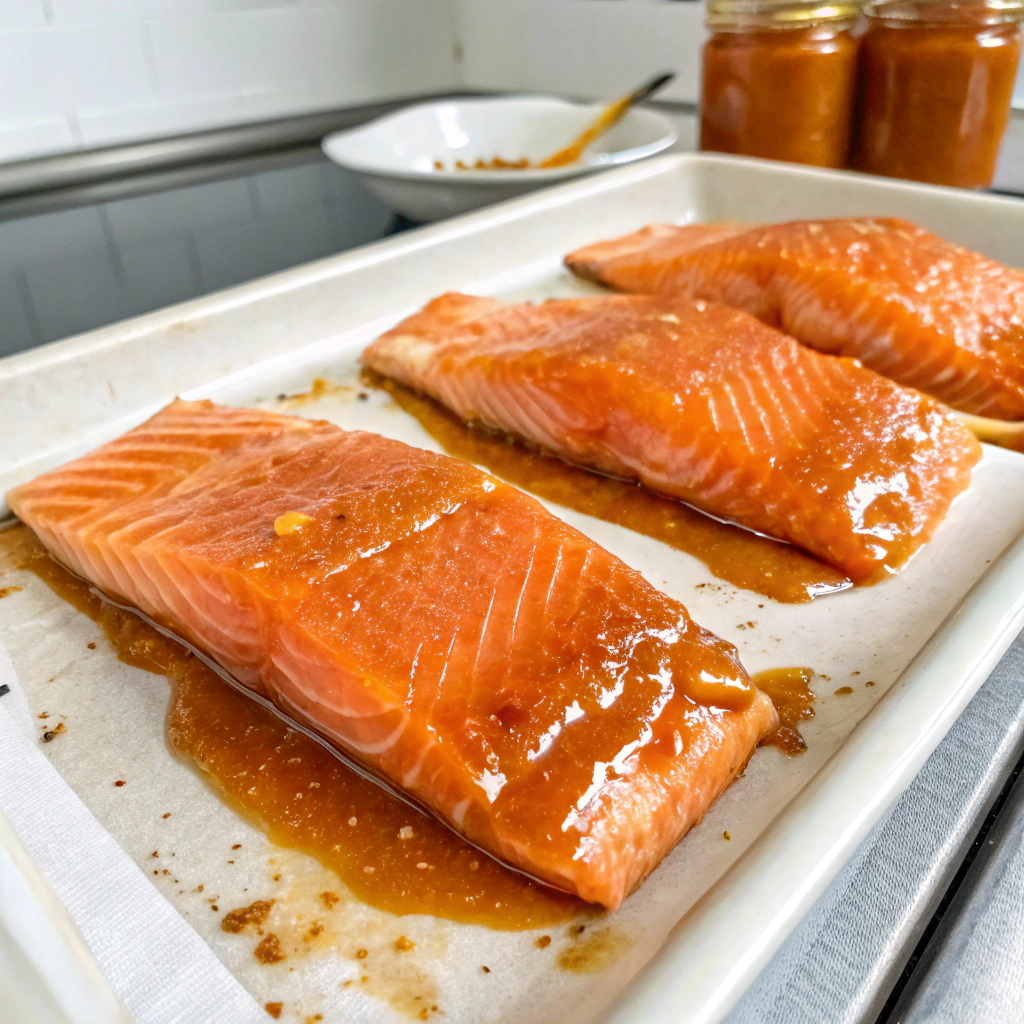
Generously spread the prepared miso glaze over the top of each salmon fillet, ensuring they are thoroughly covered to enhance flavor during cooking.
Step 4: Bake and Broil
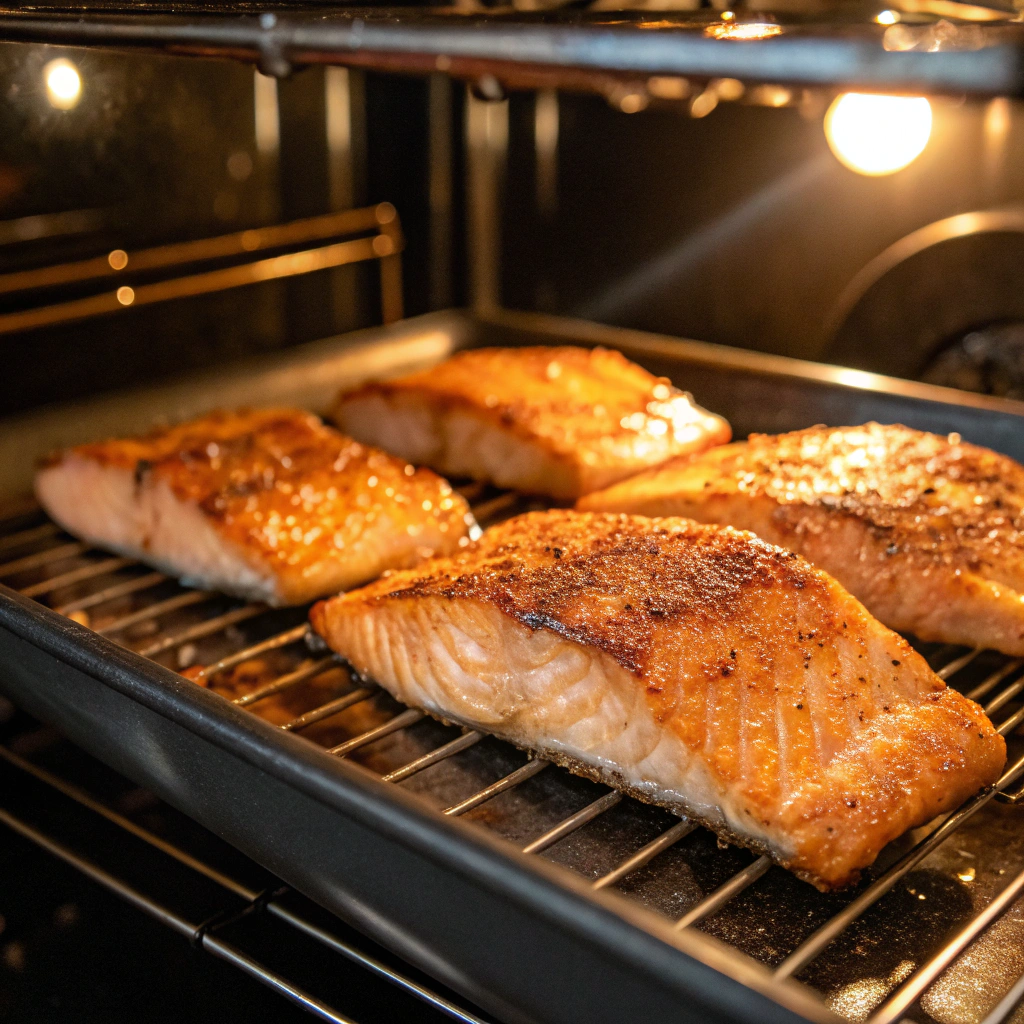
Preheat your oven to 400°F (200°C). Place the glazed salmon in the oven and bake for 15 minutes. After baking, switch the oven to broil and cook for an additional 5 minutes, or until the glaze is bubbly and the salmon has a beautiful caramelized finish.
Step 5: Serve
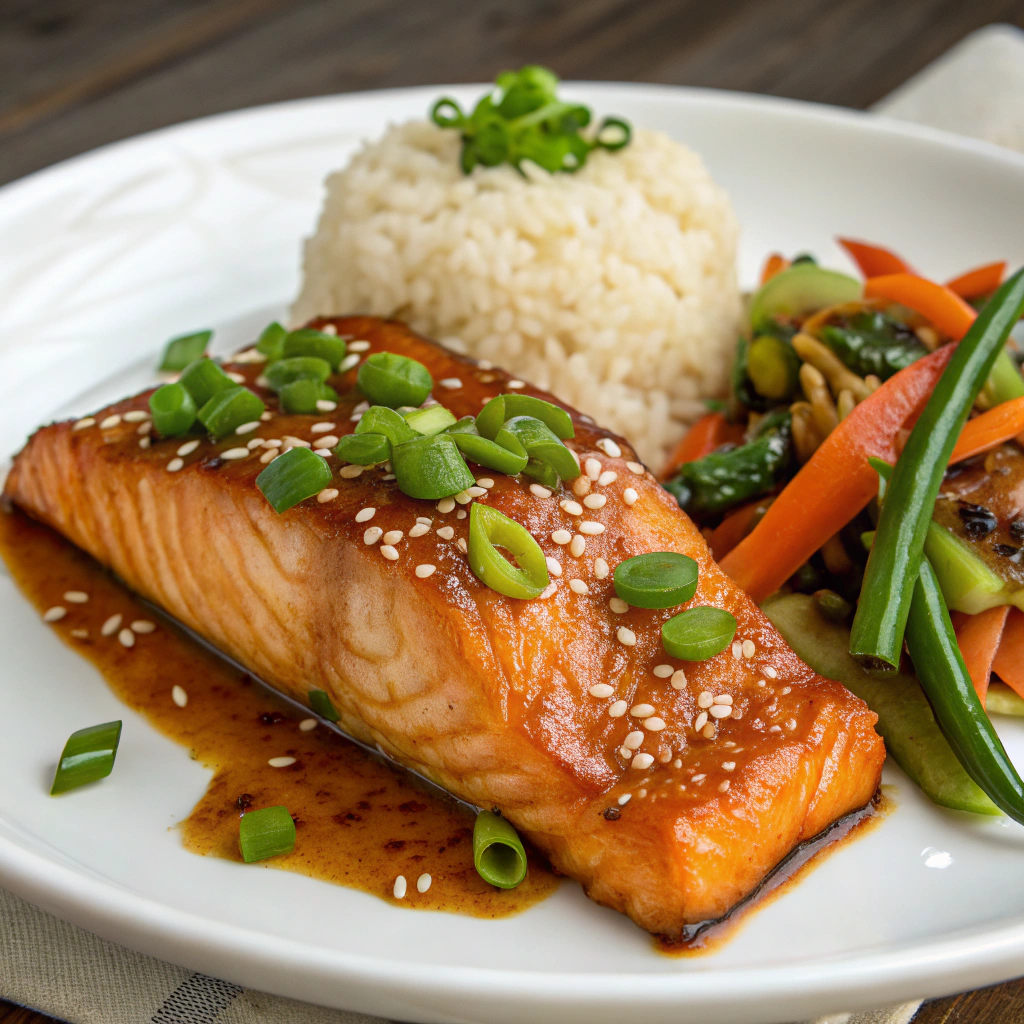
Once cooked, remove the salmon from the oven and let it rest for a few minutes. Slice into desired portions and serve alongside steamed rice and a crisp green salad for a complete meal.
The Best Time to Savor Your Miso Salmon
This Miso Salmon is best enjoyed fresh out of the oven when the glaze is caramelized, and the fish is tender and juicy. It’s an excellent choice for:
- Weeknight Dinners: A quick yet sophisticated meal to elevate your evening.
- Special Occasions: Impress guests with its gourmet presentation and rich flavors.
- Healthy Eating: Packed with protein and omega-3 fatty acids, it’s a nutritious option for health-conscious individuals.
Pair this dish with a light, crisp white wine or a chilled glass of sake to complement the savory flavors. For a complete Japanese-inspired meal, consider serving it alongside miso soup or a side of edamame.
Frequently Asked Questions About Miso Salmon
What type of miso paste should I use?
Miso paste comes in various types, including white (shiro), yellow (shinshu), and red (aka) miso. For this recipe, white or yellow miso is recommended due to their milder and sweeter flavors, which complement the salmon well.
Can I marinate the salmon ahead of time?
Yes, marinating the salmon in the miso glaze for at least 30 minutes before cooking can enhance the depth of flavor. For a more pronounced taste, you can marinate it for up to 24 hours in the refrigerator.
Is there a substitute for sake in the glaze?
If sake is unavailable, you can substitute it with dry white wine or a mixture of water and a squeeze of lemon juice to achieve a similar acidity and flavor profile.
How can I tell when the salmon is fully cooked?
The salmon is done when it flakes easily with a fork and has an internal temperature of 145°F (63°C). The glaze should be bubbly and caramelized on top.
Can I use this recipe with other types of fish?
Absolutely! This miso glaze pairs well with other fatty fish such as black cod or mackerel. Adjust cooking times as needed based on the thickness of the fillets.
")
Miso Salmon
Prep Time
20 minutes
Cook Time
30 minutes
Servings
6
Category
Comfort food
This miso salmon is rich, savory, and perfectly caramelized under the broiler! Inspired by Japanese flavors, it’s easy to make at home and pairs beautifully with steamed rice and a crisp salad.
Ingredient
- 2 (1.5 lb) salmon fillets, skin removed
- 1 cup miso paste
- 1/2 cup brown sugar
- 1/2 cup soy-ginger salad dressing
- 1/4 cup sake
- 1/4 cup water
- 3 tbsp seasoned rice vinegar
- 2 tbsp sesame seeds
- 1 tsp sesame oil
Instructions
- First, preheat the oven to 400°F (200°C).
- Next, bring about 1 inch of water to a boil in a skillet. Poach the salmon for 2 minutes per side, then transfer to a broiler pan.
- After that, mix miso paste, brown sugar, salad dressing, sake, water, rice vinegar, sesame seeds, and sesame oil in a bowl. Spread the mixture over the salmon.
- Bake for 15 minutes, then broil for another 5 minutes until golden and bubbly.
- Finally, slice into portions and serve with rice and greens for a complete meal!
Nutrition Information
- Calories: 719
- Fat: 41g
- Carbs: 35g
- Protein: 51g
Pro Tips
For extra umami, marinate the salmon in the miso mixture for at least 30 minutes before baking!
Pro Tips for Perfect Miso Salmon
Want to take your miso salmon to the next level? Follow these expert tips for the best results:
- Marinate for Maximum Flavor: Let the salmon marinate in the miso glaze for at least 30 minutes (or overnight) to enhance the umami depth.
- Use High-Quality Miso Paste: Opt for white or yellow miso paste for a milder, sweeter flavor. Red miso will give a bolder, saltier taste.
- Pat the Salmon Dry: Before applying the glaze, pat the fillets dry with a paper towel to help the miso mixture adhere better.
- Broil for Extra Caramelization: The final broiling step is key for achieving that perfect golden-brown glaze.
- Don’t Overcook: Keep an eye on the salmon while broiling. Overcooking can make it dry; aim for an internal temperature of 145°F (63°C).
Storage and Reheating Tips
Have leftovers? Here’s how to store and reheat your miso salmon while maintaining its deliciousness:
- Refrigeration: Store cooked salmon in an airtight container in the fridge for up to 3 days.
- Freezing: Wrap each fillet in plastic wrap and place it in a freezer-safe bag. Freeze for up to 2 months.
- Reheating in the Oven: Warm in a 300°F (150°C) oven for about 10 minutes to maintain moisture.
- Reheating in the Microwave: Use low power and cover with a damp paper towel to prevent drying out.
- Best Served Fresh: While reheating works, miso salmon is best enjoyed immediately after cooking.
Perfect Pairings for Miso Salmon
Complement your miso salmon with these delicious sides and drinks for a well-rounded meal:
- Butternut Squash Soup – A warm and comforting starter.
- Italian Bread – A crispy, fluffy bread to soak up the extra glaze.
- Golden Milk – A soothing, turmeric-infused drink.
- Steamed Jasmine Rice – A classic pairing to balance the umami flavors.
- Japanese Cucumber Salad – A refreshing, crunchy side.
Now that you have all the tips and techniques for making the perfect miso salmon, it’s time to try it for yourself! Whether you’re preparing a quick and nutritious dinner or impressing guests with a gourmet meal, this dish is sure to be a crowd-pleaser.
We’d love to hear from you! Have you tried this recipe? Did you make any modifications or pair it with a favorite side dish? Share your thoughts in the comments below!
Looking for more delicious recipes? Check out our other favorites:
Don’t forget to share your creation on social media! Tag us with #misosalmon and let us see your delicious results. For more amazing recipes straight to your inbox, subscribe to our newsletter today!
Happy cooking!