There’s nothing quite like the aroma of fresh Italian bread baking in the oven. With its golden crust, pillowy-soft interior, and simple ingredients, this homemade Italian bread is a must-try for any bread lover. Whether you’re dipping it in olive oil, making a hearty sandwich, or pairing it with your favorite pasta dish, this recipe is sure to impress. Best of all, it’s easier than you think—just a little patience and a few key techniques will yield bakery-quality results right at home!

Ingredients and Preparation Steps
To make this authentic Italian bread, you only need a handful of pantry staples. Follow these simple steps to create a delicious loaf with a perfect crust and soft crumb.
Ingredients
- 1 tsp white sugar
- 1 tbsp active dry yeast
- 3 cups warm water (110°F/45°C)
- 7 cups all-purpose flour, divided
- 1 tbsp salt
- Cooking spray
Step 1: Activate the Yeast
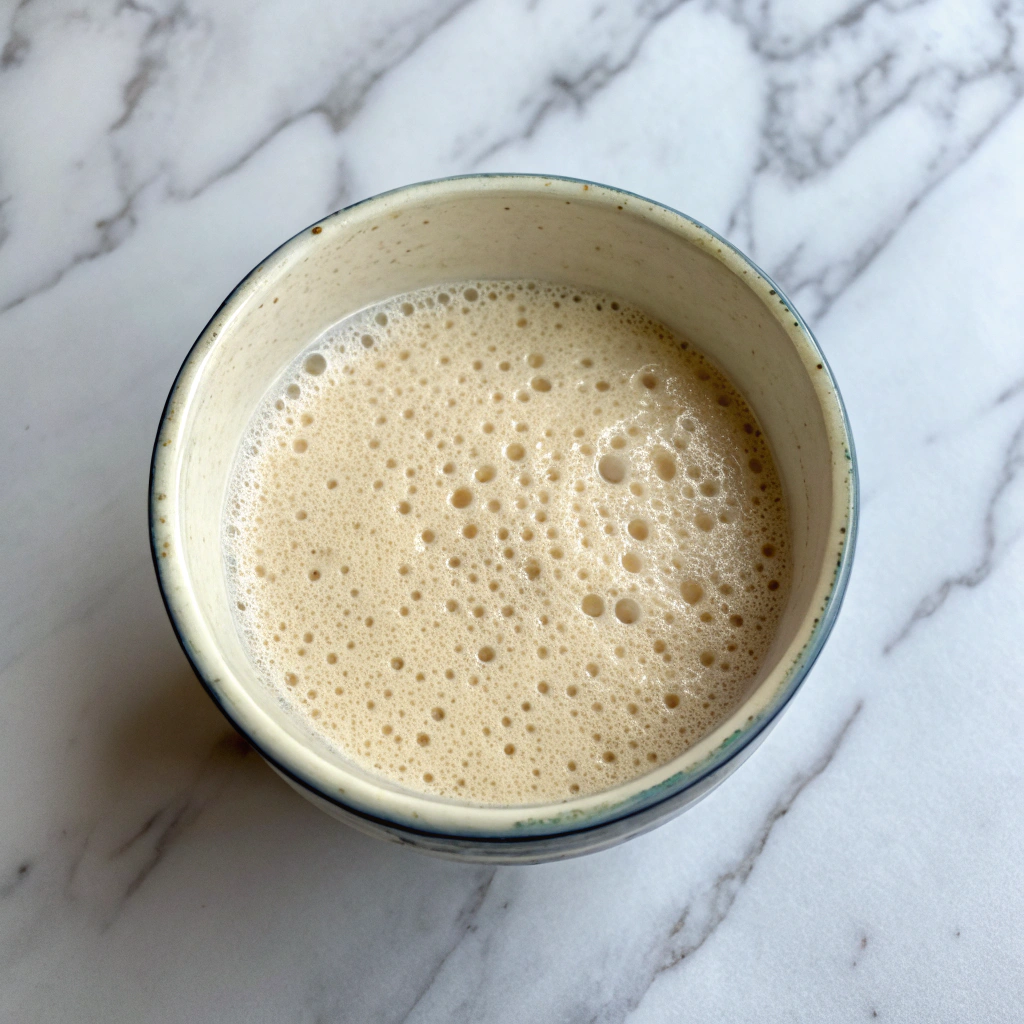
Start by mixing the sugar and yeast in warm water. Let it sit for about 5 minutes until it becomes frothy—this step ensures that the yeast is active and ready to make your dough rise.
Step 2: Create the Dough Base
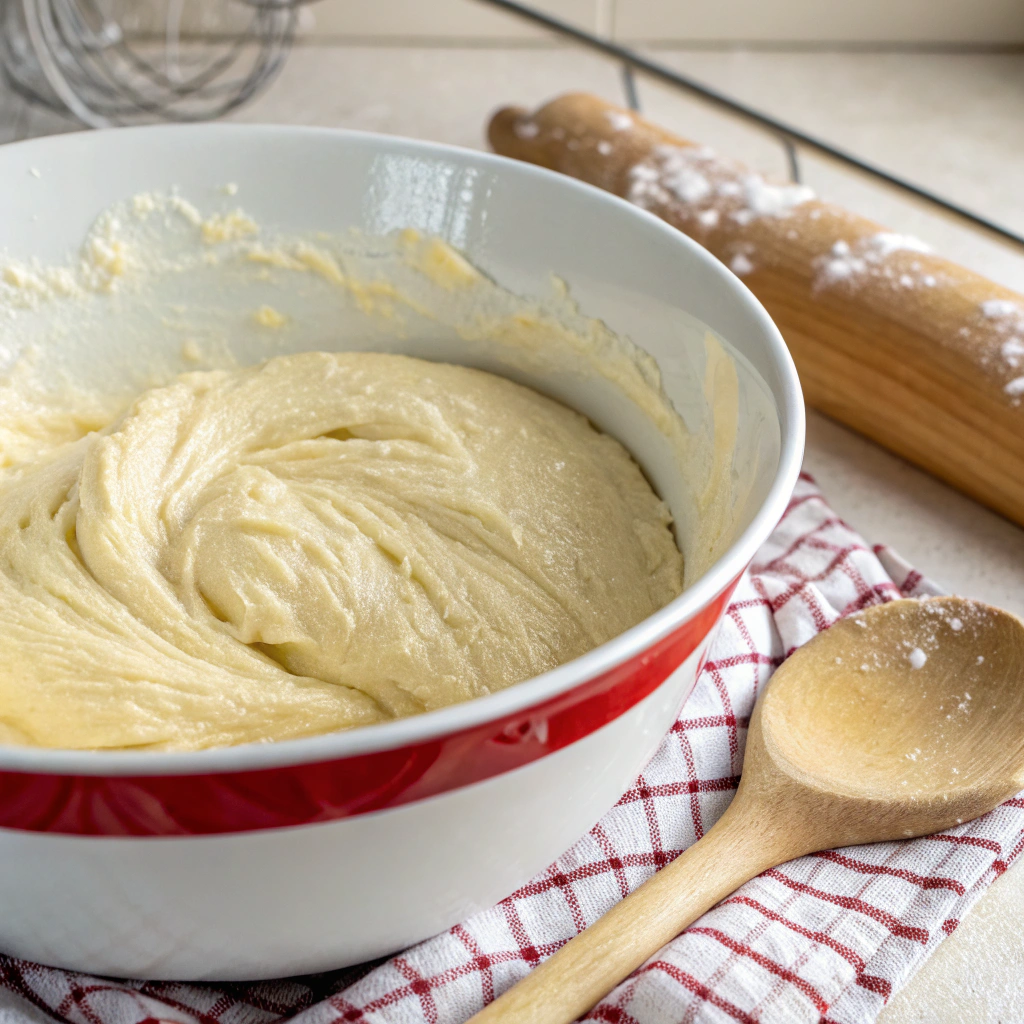
Stir in 4 cups of flour and mix until smooth. Cover the bowl with a clean towel and let it rest for 15 minutes. This initial rest allows the flour to hydrate and begin forming gluten.
Step 3: Knead and First Rise
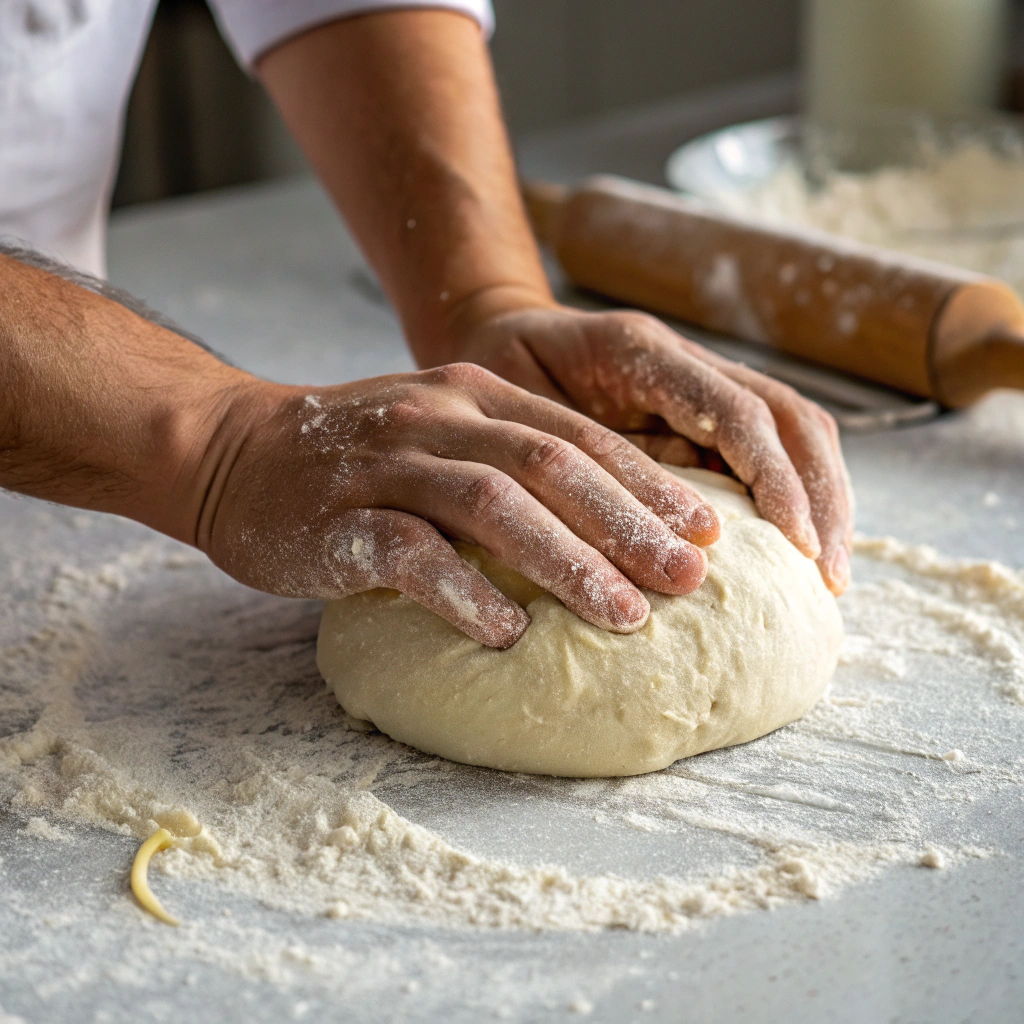
Mix in the salt and gradually add the remaining flour until a stiff dough forms. Knead for about 8-10 minutes until the dough is smooth and elastic. Then, place it in a greased bowl, cover, and let it rise in a warm place for about 1 hour, or until doubled in size.
Step 4: Shape and Second Rise
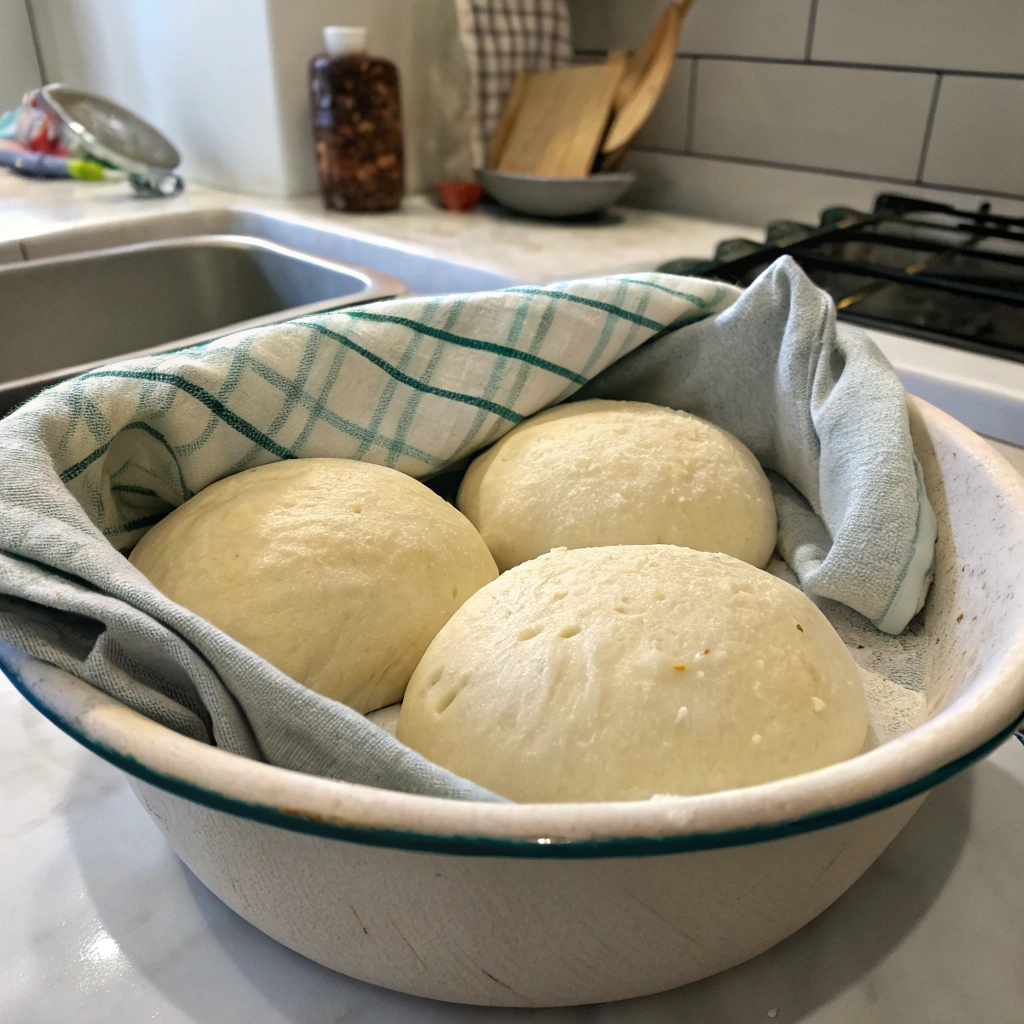
Punch down the dough and divide it into three equal portions. Let them rise again in the bowl until doubled in size—this ensures a light and airy texture in the final loaves.
Step 5: Form the Loaves
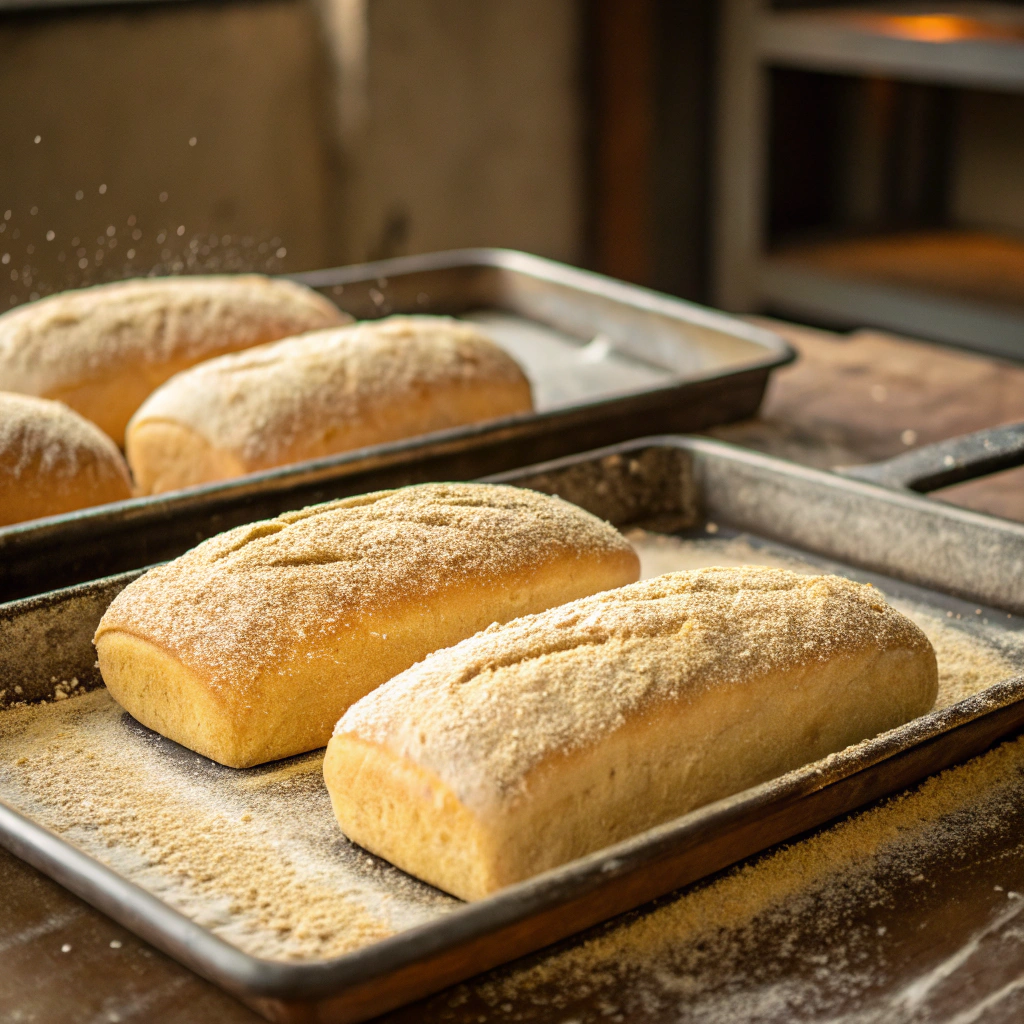
Shape each dough portion into a round or oval loaf and place them on greased cookie sheets sprinkled with cornmeal. Cover and let them rise one final time while the oven preheats.
Step 6: Bake to Perfection
Preheat your oven to 450°F (230°C). Mist the loaves with water and bake for 25-30 minutes, turning occasionally and misting with water every 5 minutes. The loaves should have a crisp, golden crust and sound hollow when tapped on the bottom.
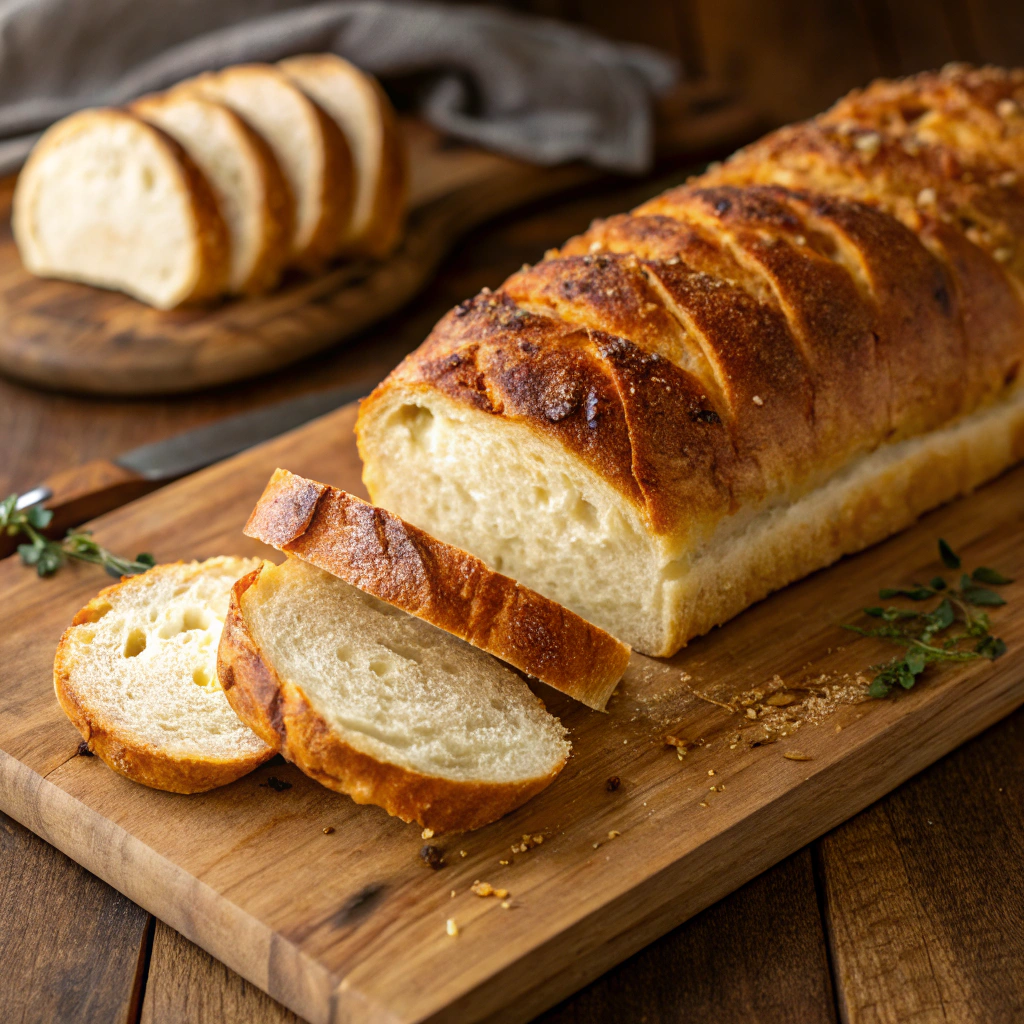
The Best Time to Enjoy Your Homemade Italian Bread
Nothing beats the moment you slice into a warm, freshly baked loaf of Italian bread. The crispy crust gives way to a tender, airy crumb, perfect for slathering with butter or dipping into a bowl of butternut squash soup. Serve it alongside a hearty pasta dinner, use it for a classic Italian sandwich, or simply enjoy a slice with a drizzle of olive oil and balsamic vinegar.
This bread is perfect for any occasion, whether it’s a casual family dinner or a special gathering. Plus, it pairs beautifully with Thanksgiving Harvest Punch for a festive touch!
Frequently Asked Questions About Italian Bread
What makes Italian bread different from French bread?
Italian bread is often softer and contains a bit of olive oil, while French bread (like baguettes) has a crispier crust and uses a lean dough with no added fat.
How do I get a crispy crust?
For a crispier crust, place a pan of hot water in the oven while baking, or mist the loaves with water every 5 minutes during baking.
Can I use bread flour instead of all-purpose flour?
Yes! Bread flour has a higher protein content, which can result in a chewier texture. However, all-purpose flour works perfectly fine for this recipe.
How should I store homemade Italian bread?
Store the bread in a paper bag or a loosely wrapped cloth at room temperature for up to 2 days. For longer storage, freeze it in an airtight bag.
Can I make this dough ahead of time?
Absolutely! You can refrigerate the dough after the first rise and let it come to room temperature before shaping and baking.

Homemade Italian Bread
Prep Time
20 minutes
Cook Time
25 minutes
Servings
36
Category
Breakfast recipes
A simple, classic Italian bread recipe that’s crusty on the outside, soft on the inside, and perfect for sandwiches, dipping, or enjoying with butter! This homemade loaf is worth every minute of the rise time!
Ingredient
- 1 tsp white sugar
- 1 tbsp active dry yeast
- 3 cups warm water (110°F/45°C)
- 7 cups all-purpose flour, divided
- 1 tbsp salt
- Cooking spray
Instructions
- First, mix sugar and yeast in warm water and let proof for about 5 minutes.
- Next, stir in 4 cups of flour and beat until smooth. Cover and let rest for 15 minutes.
- Then, mix in salt and gradually add the remaining flour until a stiff dough forms. Knead until soft and smooth.
- After, place the dough in a greased bowl, cover, and let it rise until doubled, about 1 hour.
- Once doubled, punch down and divide into 3 portions. Let them rise again in the bowl until doubled.
- Then, shape each piece into a round or oval loaf and place on greased cookie sheets sprinkled with cornmeal. Cover and let rise again.
- Meanwhile, preheat the oven to 450°F (230°C).
- Finally, mist the loaves with water and bake for 25-30 minutes, turning occasionally and misting with water until golden brown. The loaves should sound hollow when tapped on the bottom.
Nutrition Information
- Calories: 90
- Fat: 0g
- Carbs: 19g
- Protein: 3g
Pro Tips
For an extra crispy crust, place a pan of hot water in the oven while baking or mist the loaves with water every 5 minutes!
Pro Tips for Perfect Italian Bread
Want to take your homemade Italian bread to the next level? These expert tips will ensure the best results every time.
- Use warm water: Make sure the water is around 110°F (45°C) to properly activate the yeast without killing it.
- Knead thoroughly: Kneading develops gluten, which gives the bread structure and chewiness. Aim for at least 8-10 minutes of kneading.
- Let it rise properly: Give the dough enough time to double in size during each rise. Rushing the process may lead to dense bread.
- Check the dough’s elasticity: Use the “windowpane test” by stretching a small piece of dough—if it stretches thin without tearing, it’s ready.
- Mist with water: Spraying the loaves with water while baking creates a crispier crust, similar to bakery-style bread.
- Use a baking stone: If you have one, baking on a preheated stone helps develop an even, crusty exterior.
- Let it cool before slicing: Allowing the bread to cool prevents it from becoming gummy inside when cut too soon.
Storage and Reheating Tips
Freshly baked Italian bread is best enjoyed the same day, but if you have leftovers, here’s how to keep them fresh.
- Room temperature: Store in a paper bag or wrap loosely in a clean kitchen towel for up to 2 days to maintain the crust.
- Freezing: Wrap tightly in plastic wrap and then aluminum foil. Freeze for up to 3 months. Thaw at room temperature before reheating.
- Reheating: To restore crispiness, warm in a 350°F (175°C) oven for 5-10 minutes. For a softer loaf, wrap in foil before reheating.
Perfect Pairings for Italian Bread
Italian bread is incredibly versatile! Here are some delicious ways to enjoy it:
- Butternut Squash Soup – Perfect for dipping and soaking up every last spoonful.
- Thanksgiving Mashed Potatoes – A hearty side to pair with warm, buttered bread.
- Salmon Bake with Pecan – A light yet flavorful protein to balance the crusty bread.
- Pumpkin Spice Latte – A cozy drink to complement a warm, fresh loaf.
- Olive oil & balsamic vinegar – The classic Italian way to enjoy a simple, rustic slice.
- Cheese & charcuterie – Serve with fresh mozzarella, prosciutto, and olives for a Mediterranean-inspired snack.
Now that you’ve mastered homemade Italian bread, it’s time to enjoy the fruits of your labor! Whether you’re serving it warm with butter, dipping it into a rich soup, or crafting the perfect sandwich, this bread will elevate any meal.
We’d love to hear from you! Did you try this recipe? Share your experience in the comments below and let us know how it turned out. Do you have any favorite toppings or creative ways to enjoy Italian bread? Let’s swap ideas!
Looking for more delicious homemade bread recipes? Check out our Banana Pumpkin Bread for a sweet twist on classic baking!
Don’t forget to snap a photo of your beautiful bread and tag us on social media with #homemadebread and #italianbread—we’d love to feature your creations!
For more incredible recipes delivered straight to your inbox, sign up for our newsletter and never miss a delicious moment.
Happy baking!